The Feasible: How to Build One
Have a question? Want to contribute? Try the "Other Projects" section of the Raspberry Pi forum. Start your title with "WBC".
Overview
Building a device requires that edit the FreeCAD file (if you want to change something like the battery size), print the case, fit the screws, and make the electrical connections.
Equipment
| 3D printer & filament |
| USB multimeter |
| Screwdriver |
| Soldering iron (no soldering required) |
Parts
| Raspberry Pi 4 and screen as listed in the specifications |
| Two 10 mm-long M2.5 male-female brass standoffs |
| Two 10 mm-long M2 screws |
| Two 25 mm-long M2.5 screws |
| Two M2 heat-set inserts |
| Two M2.5 heat-set inserts |
| One USB-A to USB-C cable with 90 degree bends on both ends |
Assembly
| Print the case and cover. The CAD file is licensed under the GNU GPL version 3. You can modify the design to fit a different battery if you like. |
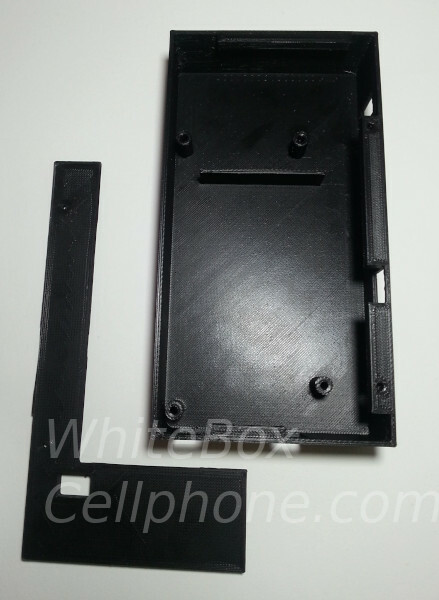 |
| Use a soldering pen to insert the screw receivers (heat-set inserts) according to this guide. Use a soldering iron to push each insert in slowly until the top of the insert reaches the level of the plastic. Be careful not to use too much heat. The M2 inserts hold the cover on and the M2.5 inserts go in the Raspberry Pi standoffs near the USB port hole. Snap off the Pi standoffs in the battery compartment. |
 |
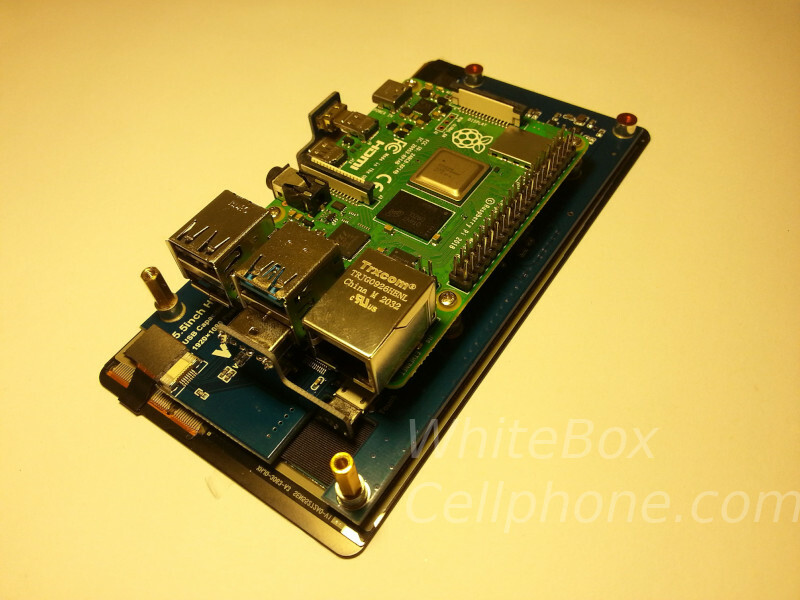
| Assemble the screen and Raspberry Pi 4 according to the screen manufacturer's instructions. Don't use the standoffs provided by the manufacturer. Use the two 10 mm-long standoffs in the front two holes (holes nearest to the USB ports) instead. |
 |
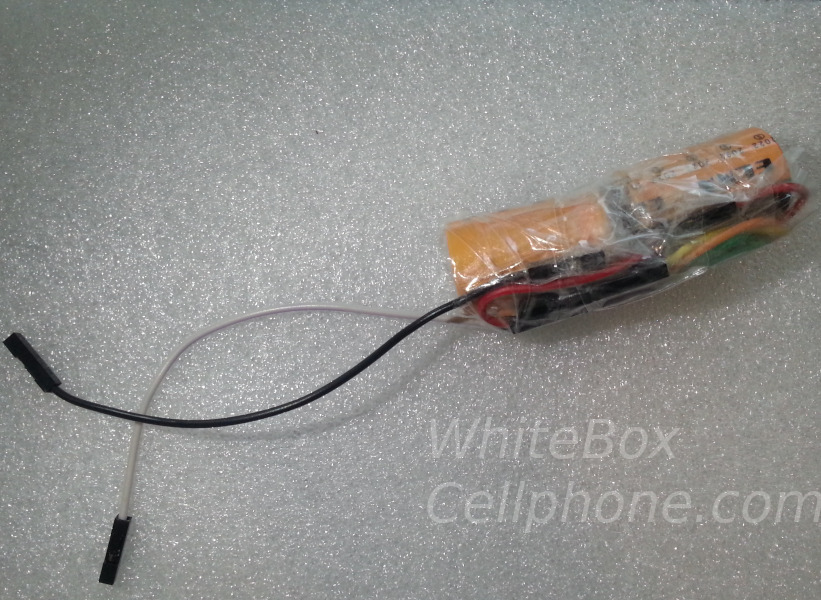
| If you have a compatible USB powerbank, prepare your anti-reboot capacitors and tape them in place. Avoid putting capacitors near heat sources like the CPU Make sure that the lines are long enough to reach the GPIO headers of the Pi Please note that the Aukey Basix Mini does not work with anti-reboot capacitors; this is why the battery will be changed in the next version. |
 |
| Plug in the battery and slide it into its compartment. | 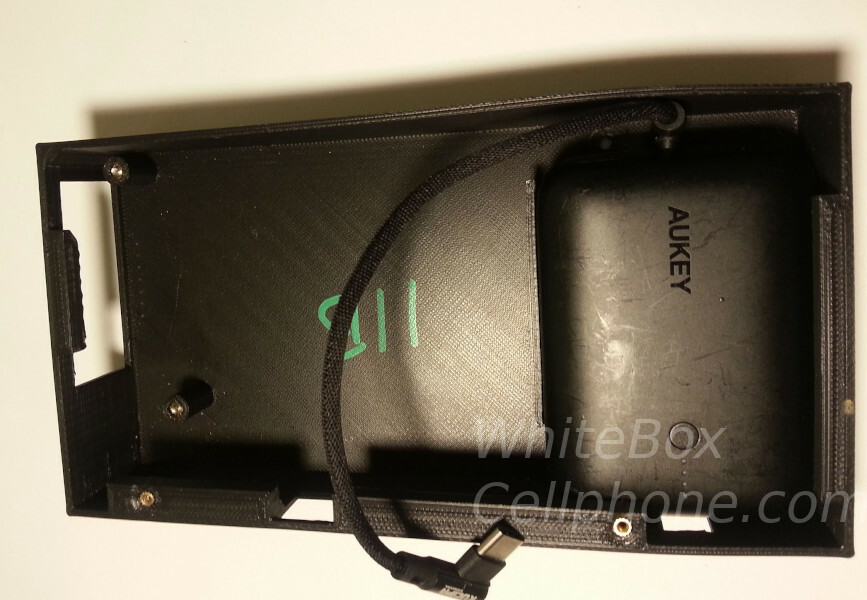 |
| Notch the screen into the cover. |  |
| Put the cover in place and screw in the long screws. The long screws go through the bottom of the case via the plastic Pi standoffs into the brass standoffs. | 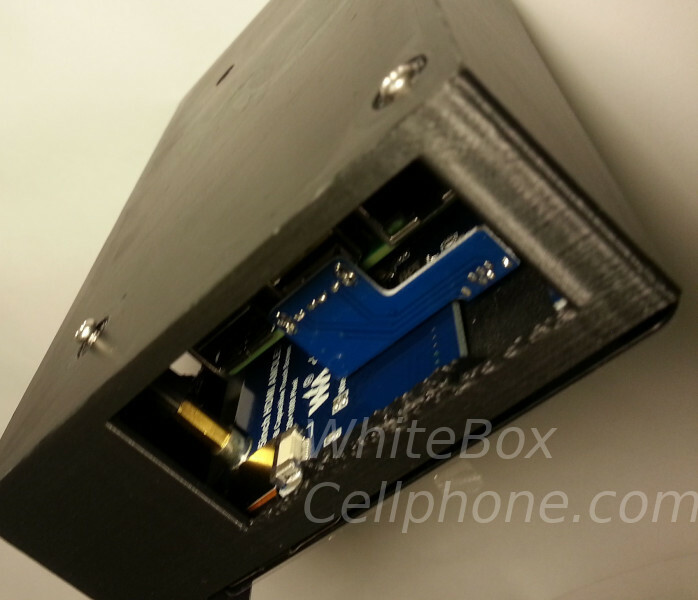 |
| Screw in the short screws that hold the case on. |  |